Sunday, July 3, 2011

Black Bean Salsa

I just realized the other day that I had never posted this recipe on here, and it's such a SHAME!!! This is one of my favorite snacks ever....I LOVE this stuff! It's super easy to make, tasty, and pretty healthy too!
Try it, you'll LOVE LOVE LOVE it.


Black Bean Salsa 


2-3 Tomatoes, diced
1 can black beans, rinsed
1 can black eyed peas, rinsed (you can do 2 cans black beans if you don't have these)
1/2 bag frozen corn, cooked
Chopped cilantro, maybe about 1/4 of a bunch. I put in a bit more than that because I LOVE cilantro
a pinch of salt and pepper
2-3 Tablespoons italian dressing


Optional:
Diced green onions
Diced avocado
a squirt of lime juice
(I'd reccomend all three)


SO GOOD! I'll make a batch of this stuff and my husband and I will eat it all at once! We love eating it with chips, but it's also good on chicken enchiladas! (The recipe for those is HERE)

Friday, July 1, 2011

Eclair Dessert

This is one of my all time favorite deserts, and it's perfect for summer! You don't even have to turn on the oven to make it!


Eclair Dessert
1 package of graham crackers
2- 3 1/2  oz French vanilla instant pudding 
                         (I like using at least 3 oz for sure....2 oz just isn't enough!)
Milk (however much is needed to make the pudding)
9 oz cool whip

Make instant pudding according to instructions on box. As soon as you're done making it, mix in cool whip. Layer a 9X13 with whole graham crackers.  Spoon on 1/2 the pudding mix. Make another layer of crackers, and the spoon on remaining pudding mix. Top with a layer of crackers, and seal the crackers with the frosting (see below).   Let chill for at least 20 hours before serving. (Trust me...this step is important :) It stinks being patient....but it's worth it!)


Frosting
1 1/2 cups powdered sugar
3 Tbsp milk
3 Tbsp melted butter
1 Tbsp cocoa

Melt margarine. Add cocoa. Add in sugar and milk. Beat until smooth.

Thursday, June 9, 2011

Ebelskivers

This is a post I wanted to put up just to show something fun I made the other day.

So these little puppies are AWESOME!!! They're called Ebelskivers. What are ebilskivers you might ask?? They're traditional danish pancakes, and they're HEAVENLY when topped with vanilla sauce!!!  The only downside is you have to have a special pan to make them, and I seriously don't know anyone besides my family and various extended family that has one. . Here's what they look like.


If anyone happens to have access to a pan, let me know and I'll give you the recipe, but since I figure no ones does, I didn't type it up here. I just wanted to show how fun they are! 

Limonada (Brazilian Lemonade)

Alright, so I had two recipes for Limonada, so I decided to put them both to the test!
The first one is a recipe I got here, from one of my favorite cooking blogs. The second one comes from my uncle who served his mission in Brazil.

We tried the both

RECIPE #1    (go to link above)

RECIPE #2
 2 1/2 limes
Water (fill blender 3/4 of the way)
1/2-3/4 cups sugar
Ice

Cut limes into quarters. Put pieces (including peels) in the blender with all the other ingredients. Blend and  strain.


We drank an entire pitcher of each
BUT
we came to different conclusions. 

I liked recipe #1 more, but Ben liked recipe #2 because he said it tasted more like what he was used to drink on his mission.
So....if you want something yummy that's more authentic, make #2. If you want something less authentic but possibly a little yummier, make #1.

Dutch Babies

Dutch babies (otherwise known as german pancakes) are one of my favorite breakfast items! Just make them, cut them into 6 pieces (the 4 corner pieces are always the best :)) , and cover the pieces with powdered sugar and  syrup for a satisfying, filling breakfast!

(These ones don't look quite normal....I'm not sure what happened but they usually have more of a crust on the outside and they don't look quite so rough on the inside. These one still tasted yummy, they just looked a little different than usual)


Dutch Babies
 1/2 C butter
6 eggs
1 1/2 cups milk
1 1/2 cups flour
 Put butter in 9x13 baking dish and melt it in the oven at 425. In the mean tim, mix batter. Put eggs in blender and whirl on high for 1 minute. With motor running, gradually add milk and then flour. Whirl for 30 seconds. Pour batter into the hot baking dish over the melted butter. Bake until fluffy 20-25 min

Best EVER Square Breadsticks

Be careful, these puppies are addicting!
Seriously.
They're the best bread sticks ever!

First, you make the dough and the topping 
 Then, you stretch the dough out a bit  (just with your hands)so it's bigger and flatter and plop it in the center of a rimmed cookie sheet. Then, using the back of a spoon, push the dough out to the corners so it's flat and even in the pan. It doesn't have to be perfect, as long as its fairly flat, somewhat even, and goes all the way to the edge of the pan, you're good. Then spread the topping on.
 Bake, Cut into squares, and you get these puppies!!!


This recipe came from my mom, who I think got it from an old neighbor of ours

Bread
1 T yeast
1 1/2 C warm water
2 T sugar
1/2 t salt
3 1/2-4 C flour

Soften yeast in warm water. Mix dry ingredients. Add to yeast and water. Knead for 3 minutes on flour-coated surface into soft dough. Let rest 10 min. Press onto pan (greased) to edges. Spread topping over dough, bake at 350 for 10-15 min, cut into squares. EAT and ENJOY!

Tuesday, May 24, 2011

Twisted Italian Breadsticks

My goodness, how many good bread stick recipes are there in the world?
A TON!!!!
Here's one of them.


Don't they turn out pretty?


*note: eat them while they're warm! We left our extras in a sealed container, and when we had them again a day and a half later, they tasted stale.

Stuffed Pizza Rolls

Ben and I made these the other day.


So good dipped in marinara sauce! They make a great movie snack :)

Found the recipe on one of my favorite recipe blogs, Our Best Bites. For recipe, click here 

Variation on Tortellini Spinach Bake

Remember this post? The tortellini spinach bake that's beyond heavenly?
Well, I was making it this weekend and found myself short several ingredients.

So, I made a variation that turned out really good! It takes less time, and it uses fewer ingredients, and it doesn't heat up the house in the sumer because you don't bake it. It's awesome (although, the original is too!)!!

Here's what you do.

Boil the tortellini.
Make the sauce from the recipe (so much better by the way if you use real garlic, not the pre-minced kind)
Mix them together. Add bacon pieces if you want.
Oh, and of course throw in some cheese. Mozzarella or Parmesan...or both :)

So easy, but it's way better than just having pasta with store bought alfredo, and it's SO stinking easy to make!!! TRY IT!!!! You'll be glad you did :)

Thursday, May 19, 2011

Rigatoni with Basil Pesto

I got this recipe from Betty Crocker's website, and it's a good one!

I made it without the pine nuts though, and instead of the 1 cup fresh basil, I used  3/4 cup spinach and 1/4 cup cilantro.

I also made an entire bag of pasta (I think it was a1 lb bag) and the pesto recipe was plenty for all that pasta.When it was made, I filled my bowl, mixed in a little alfredo and then topped with parmesan and a bit of dried basil.

Here's what it looked like, don't be disenchanted by it's color!


Rigatoni with Basil Pesto

Rigatoni
1/2teaspoon salt (for cooking pasta), if desired
3cups uncooked rigatoni pasta (8 oz)
Basil Pesto
1cup fresh basil leaves
2cloves garlic
1/3cup grated Parmesan cheese
1/3cup olive or vegetable oil
2tablespoons pine nuts or walnut pieces
  1. 1Fill a 4-quart pan half full of water. Add 1/2 teaspoon salt if desired. Cover with lid; heat over high heat until the water is boiling rapidly. Add the pasta. Heat to boiling again. Boil uncovered 14 to 16 minutes, stirring frequently, until tender but not mushy. While the water is heating and the pasta is cooking, continue with the recipe to make the pesto.
  2. 2To measure basil, firmly pack basil leaves into a measuring cup. Use a measuring cup for measuring dry ingredients. Rinse the basil leaves with cool water, and pat dry thoroughly with a paper towel or clean, dry kitchen towel. Peel the garlic cloves.
  3. 3In a food processor or blender, place the basil leaves, garlic, cheese, oil and pine nuts. Cover and process, stopping occasionally to scrape sides with rubber spatula, until smooth.
  4. 4Place a strainer or colander in the sink. Pour the pasta in the strainer to drain, and place in a large serving bowl or back in the Dutch oven. Immediately pour the pesto over the hot pasta, and toss until pasta is well coated. Serve with additional grated Parmesan cheese if desired.

Expert Tips

EXPERT TIPS:
Substitute 3/4 cup firmly packed fresh cilantro leaves and 1/4 cup firmly packed fresh parsley leaves for the fresh basil.
Substitute 1 cup firmly packed fresh spinach leaves and 1/4 cup firmly packed fresh basil leaves (or 2 tablespoons dried basil leaves) for the 1 cup fresh basil.
Use pesto immediately because it will darken as it is exposed to the air. Or store the pesto immediately by placing in an airtight container and refrigerate up to 5 days or freeze up to 1 month.

Great Harvest Pumpkin Bread

So the other day, Ben was craving pumpkin. As a result, he made pumpkin bread! It was pretty funny, the only pumpkin we had was a 30 oz can, so we ended up with a TON of bread (4 loaves and 24 muffins!) but OH MAN were they GOOD!!!! He found the recipe online
Best pumpkin bread ever!


GREAT HARVEST PUMPKIN CHOCOLATE CHIP BREAD 


2 1/2 cups white flour
1 cup whole wheat flour
3 cups sugar
2 teaspoons baking soda
2 teaspoons cinnamon
1 teaspoon nutmeg
1 teaspoon salt
16 oz cooked or canned pumpkin puree (not pie filling)
1 cup oil
4 eggs, beaten lightly
2/3 cup water
1 cup semi-sweet chocolate chips


Preheat oven to 350 degrees F. Grease two (9x5 inch) loaf pans or three (8x4 inch) loaf pans.

Mix flours, sugar, baking soda, cinnamon, nutmeg, and salt together in a large bowl; set aside.


Mix pumpkin, oil, eggs, and 2/3 cup water together and stir into dry ingredients. Stir in chocolate chips. Place batter in prepared pans.


Bake 60 or 70 minutes or until a toothpick inserted in the center comes out clean.Let cool completely.


NOTE--The bread only reaches it's delicious peak after a while. We thought it would be the most delicious when it was warm and the chocolate chips were all melty, but wrong. We put it in a covered cake pan to store overnight, and it was SO much better the next day!

Sugar Cookies

So we got this recipe from Ben's Mom, and they are seriously the yummiest sugar cookies ever! They're so soft and fluffy, you'll love them! Easy to make too!


Sugar Cookies

1 C butter
1 ½ c sugar
Cream together
3 eggs
1 tsp lemon juice
1 tsp Vanilla
4 ½ c flour
¾ tsp salt
½ tsp baking soda

Bake 350 8-10 minutes


Sorry there are no pictures, I forgot to take some!

Friday, May 13, 2011

Behind

I'm so behind!

Recipes coming soon:

limonada
best ever square breadsticks
pumpkin bread
pesto pasta stuff (I can't remember what it's called right now)
dutch babies
super soft sugar cookies

Wednesday, May 4, 2011

Tortellini Spinach Bake

Okay Yum.
That's all I have to say!
I'm not even going to bother cutting and pasting the recipe... this is where I got it. .I LOVE this blog :) Everything I've found on it has been delicious!

This is what mine came out looking like:


Add garlic bread and Voila!
It's actually pretty rich thought, so I'd recommended having some salad on the side to lighten the meal up :)

Friday, April 29, 2011

Chicken Enchiladas

This is my mom's recipe for chicken enchiladas. Growing up, if my mom would ever ask us what we wanted for dinner, our immediate response was, "chicken enchiladas!"

They're YUMMMMMMY. 

Ingredients: 

Tortilla layers:
Tortillas (probably 12-15)
2 cans of cream of chicken soup
1 cup milk
1 good dollop of sour cream
taco seasoning (you add it to the sauce to taste...I think I usually use about 2-3 Tbsp)

In between layers: 
olives
2 chicken breasts
shredded cheese
Optional: 
1 can of black beans 
chopped onion

(it's easiest if you get your ingredients all ready before hand because your hands get gooey and if the stuff isn't all ready, you'll have to wash them a ton. I )

Alright, here's what you do. 
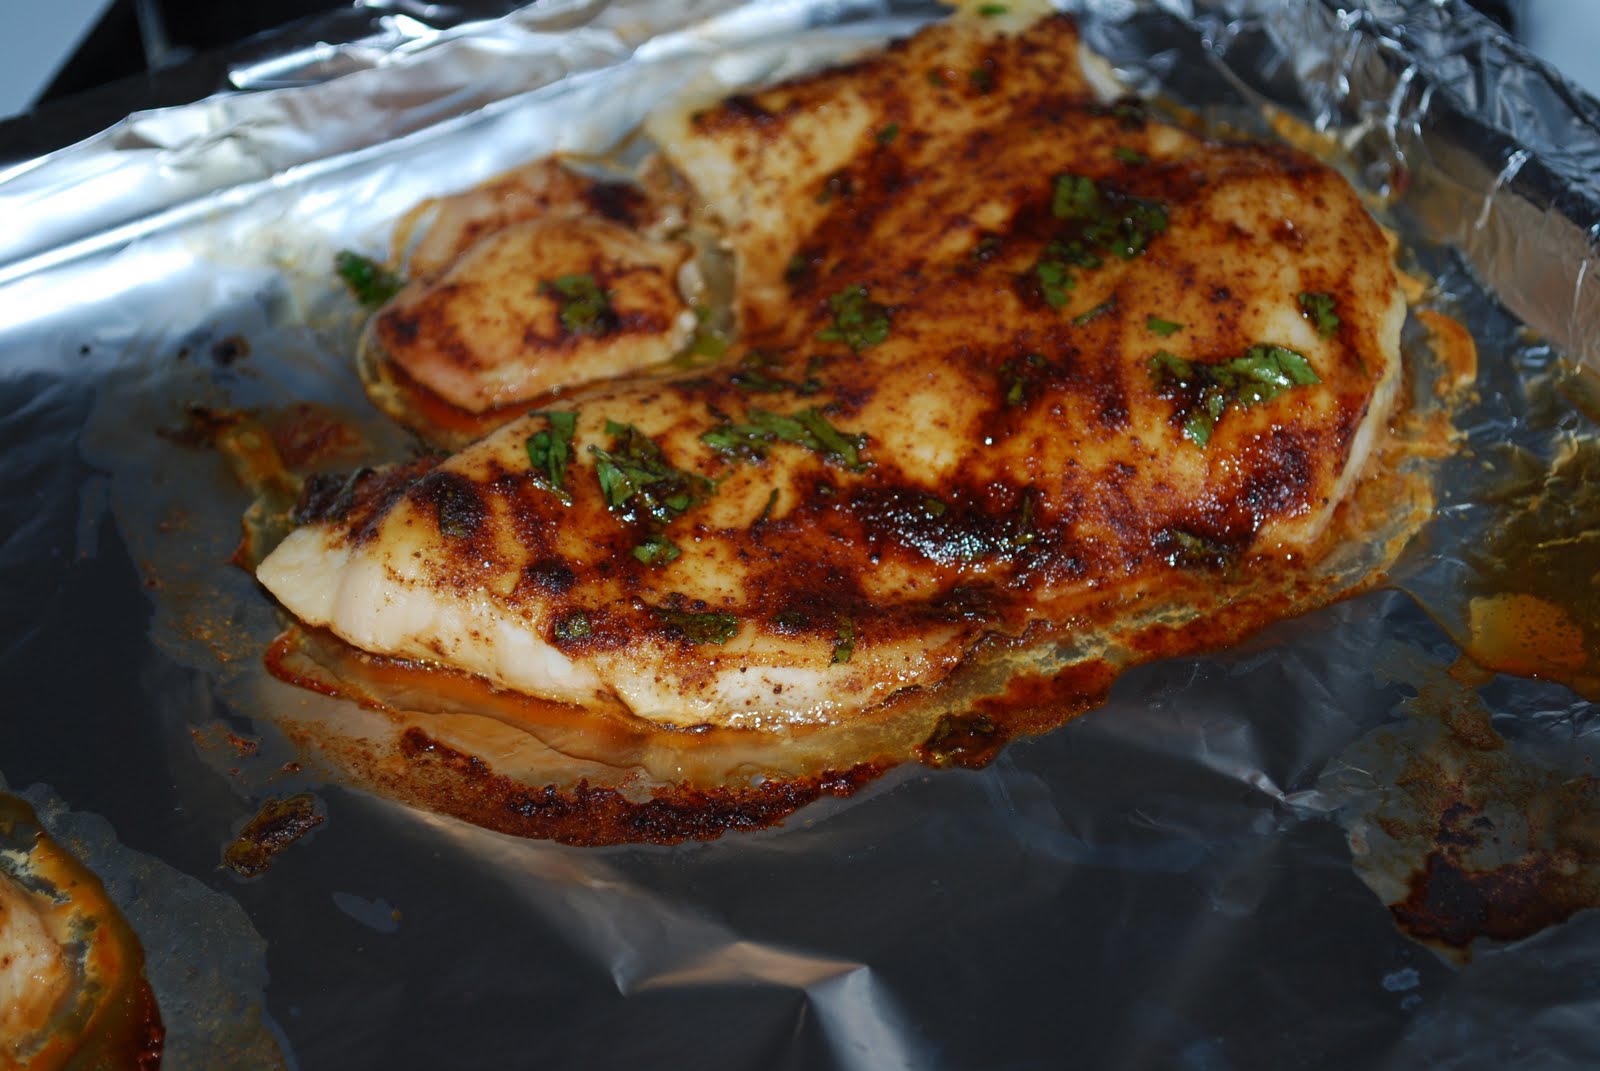
First, boil the chicken until it's cooked so you can shred it. 
Then, preheat the oven to 325
Next combine 2 cans of cream of chicken (don't make it like it says to on the can...just dump it i) , milk, taco seasoning and dallop of whip cream in a 2 quart sauce pan. Turn heat on medium and whisk together until the sauce is smooth. Don't get the sauce too hot though, it will burn you when you're dipping the tortillas in it. 


Grab a 9X13 glass pan, and get your tortillas out of the bag. Grab 2-3 tortillas and rip them into quarters. Dip the tortilla pieces into the sauce until they are covered on both sides. Make a layer of these tortillas on the bottom of the pan like this:

 once you have a layer of tortillas, make your layer of stuff. Basically, sprinkle on shredded chicken, shredded cheese, olives and if you want, beans and onions. My mom always put onions on half of it, because the kids didn't like them. I never put onions on, but I do put black beans on, which my mom never did but I decided to try it one day and decided I liked it.  I didn't put olives this time because we were out and I didn't want to run to the store.....but they make the dish SO much better so make sure to put them on!

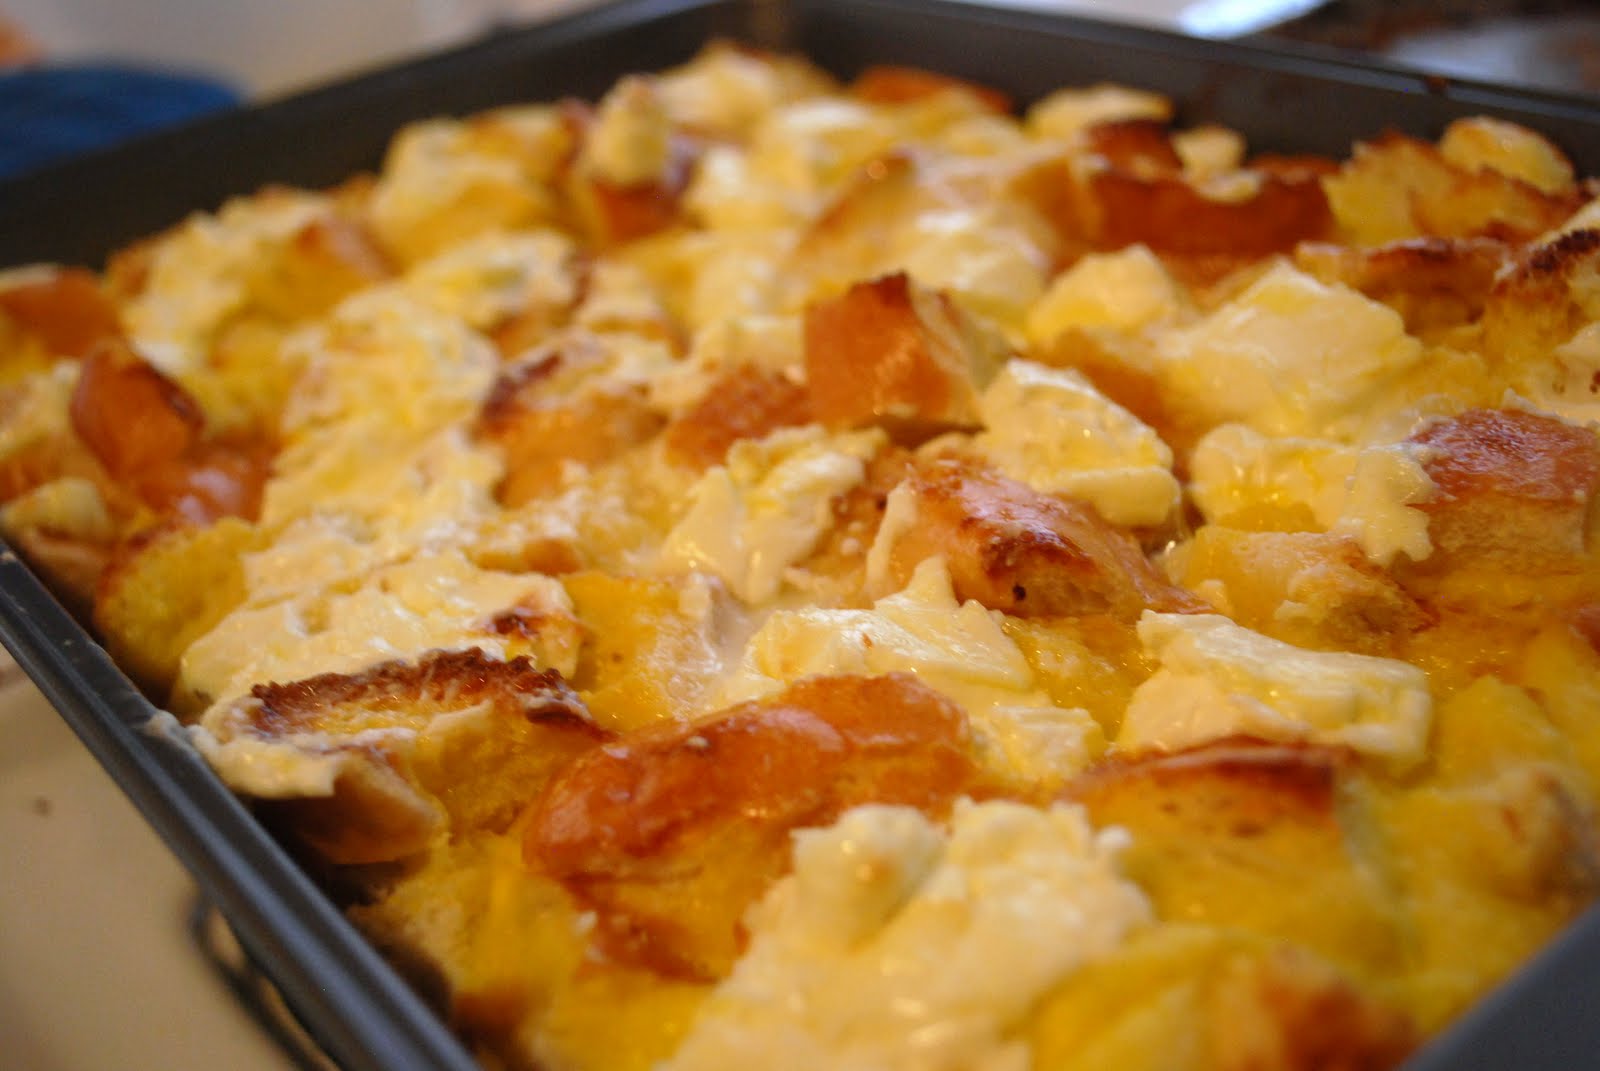
Put another layer of tortillas on top of the stuff, and repeat the process. You'll end up with 4 tortilla layers and 3 stuff layers. Make sure you sprinkle the tortilla  layer on top with cheese, and then put it in to bake for 25-30 minutes. This is what it looks like before the oven.
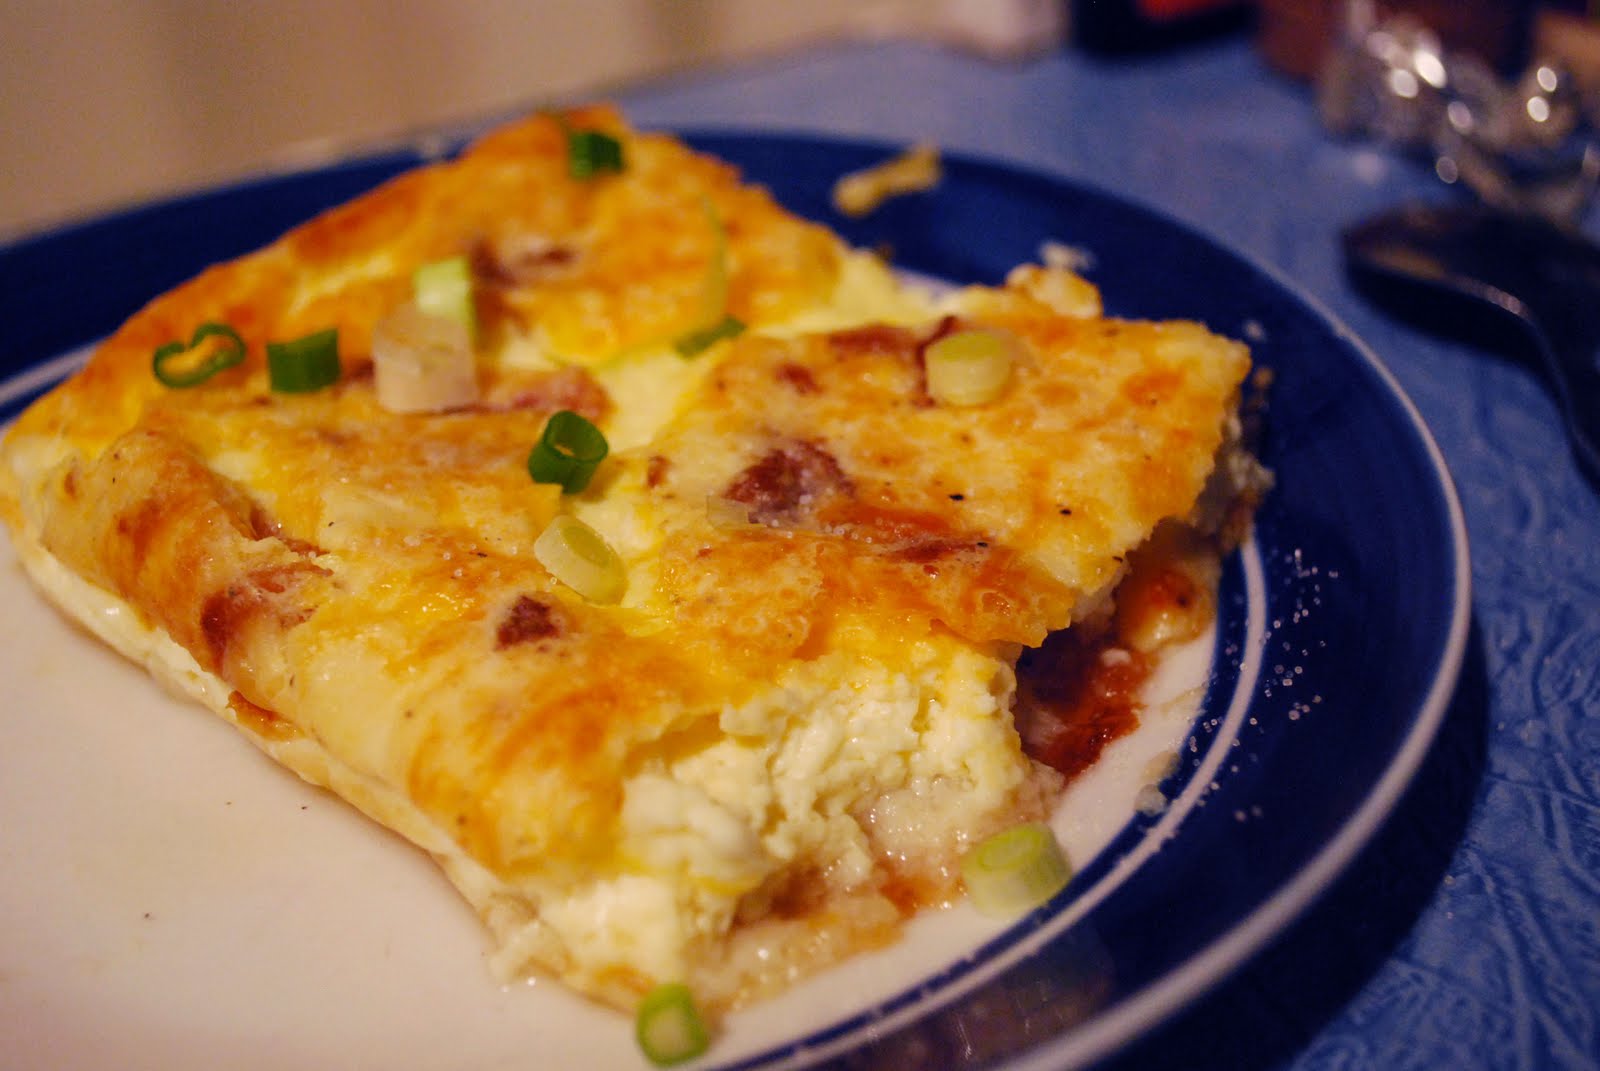
Then TA-DA!!!!

I usually make a pot of rice to go with it, and I just mix some taco seasoning in the rice to give it a bit of flavor. I also really like to put tomatillo sauce on top (of the rice and enchiladas), or salsa.  

Monday, April 18, 2011

Winner

You know a recipe is a winner when the day after you first try it, your husband begs you to make it for lunch.

You guessed it, Ben this morning is begging me to make hearty nachos.
He's addicted already.

He's even going to go to the store in the rain just to buy more chips so we can have them.

he's HOOKED.

Sunday, April 17, 2011

Hearty Nachos

Okay, so sometimes I like making really nice Sunday dinners, and sometimes I just don't want to bother. For the days I don't want to bother, I found an AWESOME solution. We had these today and they were CHEAP and EASY, plus they were a hit with my husband. In fact, he loved them so much I should have him write a testimonial on here :)

Here's what they look like before the toppings:


And here's after:


Here's what you need:

1 chicken breast
Half a bag of frozen corn
1 can tomato sauce
1 can black beans
1 packet taco seasoning
1 bag of tortilla chips
cilantro
cheese

Here's what you do:

Get a chicken breast and slice it into small squares. Cook the chicken in a skillet with a little bit of oil (it only takes a few minutes) .While the chicken is cooking, boil the corn so it's not frozen.  When the chicken is cooked, add in corn, tomato sauce, taco seasoning and beans (make sure to strain and wash the beans). Oh, and of course, throw in some cilantro, because cilantro is YUMMY!!!!!
 Simmer until it's heated up, then put over tortilla chips and top with cheese and cilantro.
TA DA!

Healthy (well, minus the chips :)) , yummy, easy, quick, simple, and economical.

Cost Breakdown:
1 chicken breast= 1.00
Half a bag of frozen corn=lets see, I got frozen corn at Maceys last week for .75, so half is like .37
1 can tomato sauce= .25
1 can black beans = .55 (yay for macey's case lot sale!) 
1 packet taco seasoning  ( I have this HUGE container of taco seasoning that I got at costco a long time ago so I just used the equivalent of a package---but really it didn't cost me anything.  The huge container only cost a few dollars, and I've been using it for years. 
1 bag of tortilla chips= Don Julio tortilla chips at smiths....always $1.00
The cilantro was on sale for .33 a bunch, so there's another .11
Cheese on top? I don't know....let's guess the cheese cost us .30? maybe?

So for $2.58 cents, you can make three huge plates. It only takes one huge plate to fill me up. for my husband it took about 1 1/2....so basically it was just the right size for dinner for two.
NOT BAD.


No Crust Quiche

So this has always been one of my favorite recipes. We ate it a lot growing up and I'll never get tired of it! It's super yummy and SUPER filling, and it's EASY to make! It does take some time to bake, but another benefit is that the prep time is super quick.

Funny story........
We had it for lunch yesterday.
One tip:
Don't DON'T forget the bisquick.
Ha, I've made it a ton, but somehow, I forgot the bisquick yesterday .We still ate it and the flavor was still yummy...the texture was just a bit off :)
So don't forget the bisquick :)
Gotta love cooking mistakes :)


No-Crust Quiche

1 lb bacon
2 cups diced ham
1 cup shredded cheese
 6 eggs
1/2 c bisquick
1 c sour cream
1 tsp salt
1/2 tsp pepper

Spread ham and cheese out over the bottom of a 9x13 glass pan.
Mix everything else together in a large bowl  and pour it over the top of the ham and cheese. Most of the cheese should end up floating.
Bake at 425 for 12 minutes, reduce heat to 350 and cook another 35-40 minutes

Notes:
--I put green onions on top and it was a delicious little flavor add. My husband suggested I put them inside next time, and I'm going to try it :)
--I usually use either Ham OR  Bacon. It's yummy with both, but not necessary.
--I always put in more pepper than it asks for....because we really like pepper :)
--I don't even measure out the cheese, I just grate it right into the bottom of the 13X9 until there's cheese everywhere.

Saturday, April 16, 2011

Egg Rolls

Tonight for dinner....Egg rolls!
They were awesome, and the best part is they're actually pretty cheap to make!
Here's how much it cost me to make 22 Egg rolls and a pot of rice to go with.

Egg Roll Wraps= $1.99
Cabbage = $.15
(I did like 4 cups probably rather than 2, so half a head of cabbage and the whole head only cost me $.30 )
Carrots= $.30
1 Chicken Breast=$1.00 (Frozen bag with 10 chicken breasts in it...cost me $10.00)
(I used chicken instead of pork...it worked out great actually!)
Pot of Rice= $.14 (We buy rice in 20 lb bags for $6.99. There are 50 cups of rice in the bag, we used 1...so 1/50th of $7 is $.14)
Soy Sauce= $.20 (between using it on rice and in the mixture that goes in the egg rolls....that's probably a good estimate)
Plus, maybe throw in maybe $.10 cents for spices and a a few pieces of minced garlic (the pre-minced kind that comes in jars) and maybe another $.10 for the olive oil
Green onions I got a bundle for $.33 cents yesterday, and I only used 3 out of like 10 that were in the bunch so there's a whole  $.11 cents more.

 Grand Total:  22 Egg rolls and a pot of rice= $4.23
Now...Ben ate 5 egg rolls and rice, I had 3 and rice so on average we used 4 rolls per meal.  So basically out of our $4.23 we'll get 5 meals.  (we'll have to make more rice though....DARN...throw in another $.13)

So.....that's just under a dollar a meal! AWESOME. Cooking is so cheap! Seriously, would you rather have a box of pasta roni  for $1.00, or cook something and have a nice plate of egg rolls and rice for the same price?? DUH! This is why I love cooking now :) )
 You KNOW this looks yummier than pasta roni......

 (this is just the first pan...the overflow went on another pan)


I just got the recipe from the back of the egg roll wrap package. Here it is!

(NOTE....we skipped the bean sprouts because we didn't have any and it didn't seem worth it to go get them and we used soy instead of oyster because we think oyster sauce is YUCKY. )
(ANOTHER NOTE....we tried baking them instead of frying them. We figured it would be worth it to try it because they are SO much healthier! Of course, they are better fried, but the baked version actually turned out to be really good too.) 

Stuffed French Toast

Oddly enough......this is a recipe I got from one of my professors.

So, this last Wednesday was our last day of class, and consequently, our lass day of Dr. Janzen's class. She tends to like to bring us food. Several times this semester, she brought us Einstein Bagels  and for all our practicum seminars, she always brought juice, fruit, granola bars, and such snacks. Yesterday, I guess in honor of the last day of class and since we were doing a review and it was a relaxed sort of class (and a 3 hours class...so we had plenty of time. Have I ever mentioned that for the past 2 semesters, the majority of my classes have been 3 hours...and the ones that aren't are 2? Yeah....it has stunk. Luckily, it's over) , she decided to make us breakfast.

She went all out.
You should have seen it, it was AWESOME!!!
First, she had one warming dish filled with a baked omelet  (SO GOOD...tomatoes, onions, peppers, mushrooms, sausage...the works) and then another warming dish full of stuffed french toast. Then...there was this BEAUTIFUL fruit platter: kiwis, pineapple, strawberries, blood oranges, etc. And of course, to top it all off, orange and cranberry juice. Yes. We're spoiled. It's true.

Anyway, the food was so SO delicious, I just HAD to email her and get the recipes. And that's the story.

Here's the French Toast
 trust ye me...it's a wonder


And here's the recipe (easy right? gotta love it)

Stuffed French Toast


10 slices French bread – trimmed and cubed
Mixture
8 oz. cream cheese – cubed
2 cups milk
1 dozen eggs
½ cup maple syrup
Suggested Toppings

Syrup
Powdered Sugar

Mix everything but the bread. Grease a 9x13 baking dish. Arrange bread cubes in the bottom of dish. Pour egg mixture over the bread and mix everything together.
 Bake uncovered for 35-40 minutes. ( I baked it at 350....but the recipe didn't say what to bake it at)
Sprinkle with powdered sugar and serve with maple syrup or jam. 

Note---Can bake the night before and warm in the morning 


Enjoy!

Chili Lime Rubbed Chicken

Here's the first one!!!


This is what we had for dinner last night :)

Of course it didn't look QUITE as pretty as the picture on the website, but it sure did taste delicious!
I didn't use Cayenne because I didn't have any, and I added some fresh, finely chopped cilantro to the rub because I LOVE cilantro. Cilantro flavor makes everything better!!  Also, I used lime juice instead of lime peel. A few changes...but it worked out well :)

    2
    teaspoons chili powder
    2
    teaspoons packed brown sugar
    2
    teaspoons grated lime peel
    1/2
    teaspoon salt
    1/4
    teaspoon garlic powder
    1/8
    teaspoon ground red pepper (cayenne)
    4
    boneless skinless chicken breasts (about 1 1/4 lb)
    2
    teaspoons olive or canola oil

    Heat gas or charcoal grill. In small bowl, mix chili powder, brown sugar, lime peel, salt, garlic powder and ground red pepper. Rub both sides of chicken with oil, then with spice mixturePlace chicken on grill over medium heat. Cover grill; cook 10 to 15 minutes, turning once or twice, until juice of chicken is clear when center of thickest part is cut (170°F)
    Expert Tips
    Refrigerating the "rubbed" chicken 20 to 30 minutes before grilling really enhances the flavor.
    You can bake the chicken. Place the rubbed chicken in a foil-lined shallow baking pan and bake in a 375°F oven for 25 to 30 minutes. (NOTE---I baked it instead of grilled it, and it actually worked great! It was nice and  moist) 
    Here's what it ended up looking like
     Just put some taco seasoning and lime on the rice to give it some flavor, and Voila! 

The Beginning!!!

Alright, since I've been cooking a lot lately and I've found some awesome and easy recipes I want to share,  I decided to start a recipe blog!

I wish I could make up my own delicious recipes...but I can't...so most of the recipes I have are from websites, blogs, my mom, or Ben's family recipes.

YUM. I'm excited! This week I have a whole 7 days of yummy recipes planned out., so stay tuned! I'll try and post them all as I go.